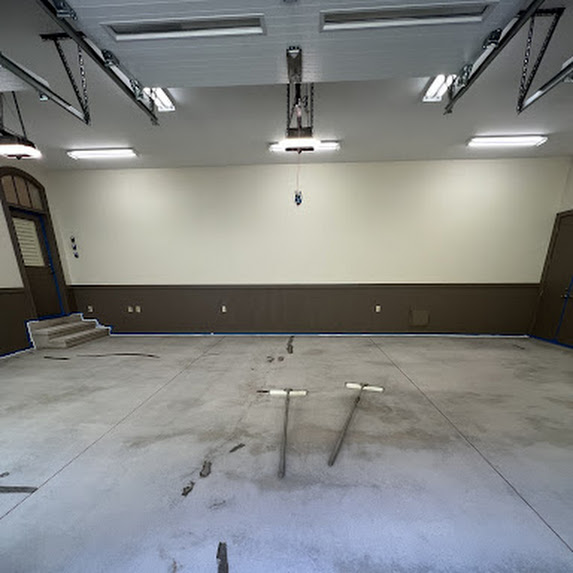
When it comes to upgrading and protecting garage floors, Garage Floor Epoxy has become one of the most preferred solutions among homeowners. Known for its strength, beauty, and long-term value, epoxy coating transforms an ordinary concrete floor into a functional, durable, and visually appealing surface. Here are the top 10 reasons homeowners choose epoxy coating for their garage floors.
1. Exceptional Durability
One of the biggest reasons homeowners select epoxy is its unmatched durability. Garage Floor Epoxy forms a solid, protective layer over the concrete that resists cracks, abrasions, and wear—even under heavy vehicle traffic. It can handle years of use without losing its shine or strength.
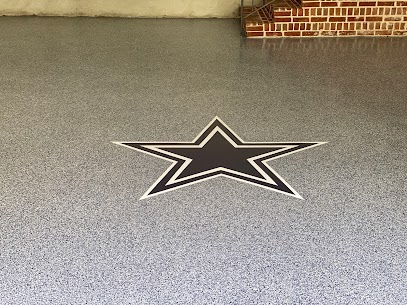
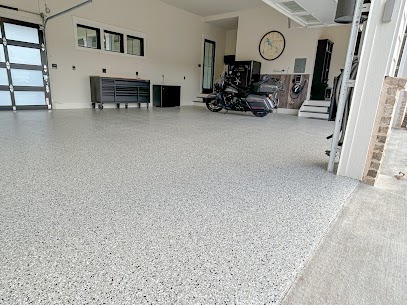
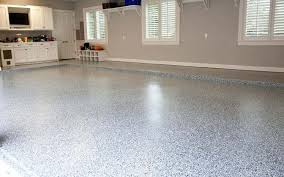
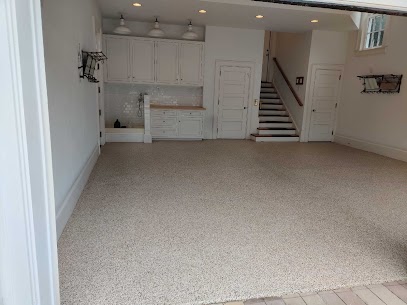
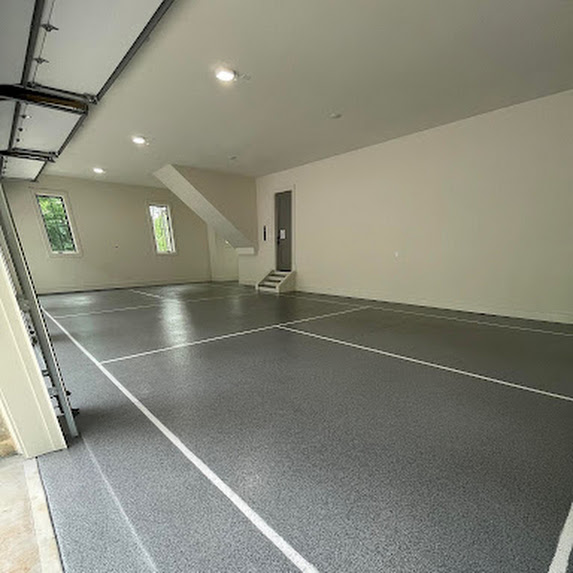
2. Stunning Aesthetic Appeal
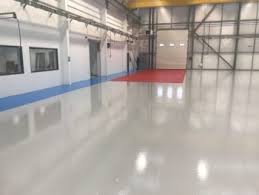
Epoxy coatings instantly elevate the appearance of a garage. With options like high gloss, metallic finishes, and decorative flakes, homeowners can customize their space to look clean, modern, and professional. The polished finish often gives the garage a showroom-like feel.
3. Chemical and Stain Resistance
Garages often deal with oil leaks, gasoline spills, cleaners, and other chemicals. Epoxy’s chemical-resistant properties prevent stains and damage, making cleanup much easier. This is one of the leading reasons homeowners choose Garage Floor Epoxy instead of leaving raw concrete exposed.
4. Easy to Clean & Maintain
Once installed, epoxy floors are simple to maintain. Dirt, dust, and spills can be cleaned with minimal effort. Unlike concrete, which absorbs stains and dust, epoxy provides a smooth, non-porous surface that stays cleaner for longer.
5. Slip-Resistant Options
Safety matters, especially in a space like a garage. Epoxy coatings can be customized with slip-resistant textures, giving homeowners added protection against accidental slips—especially in wet or humid conditions.
6. Cost-Effective Long-Term Investment
While the upfront cost may be higher than basic paint or concrete sealers, Garage Floor Epoxy offers long-term value. Its durability reduces repair costs, and its low-maintenance nature saves time and effort over the years. Many homeowners consider it a smart, cost-effective upgrade.
7. Protects the Concrete Foundation
Epoxy acts as a barrier that protects the concrete floor underneath. It prevents moisture penetration, blocks chemical damage, and reduces dusting caused by concrete erosion. This helps prolong the lifespan of the garage’s foundation.
8. Enhances Home Value
A well-finished garage is a strong selling point for homebuyers. Epoxy floors create a clean, finished look that adds to the home’s overall appeal and market value. Buyers often view Garage Floor Epoxy as a premium upgrade.
9. Quick Installation & Fast Curing
Professional epoxy floor installation is straightforward and can often be completed within a couple of days. The quick curing time allows homeowners to return to daily use sooner than many other flooring solutions.
10. Ideal for Multi-Purpose Use
Modern garages are used as gyms, workshops, storage spaces, and hobby rooms. Epoxy flooring supports these lifestyle needs with its durability, clean finish, and ability to handle heavy equipment.
Whether you’re looking to improve functionality, enhance appearance, or protect your concrete, Garage Floor Epoxy remains a top choice among homeowners for good reason.